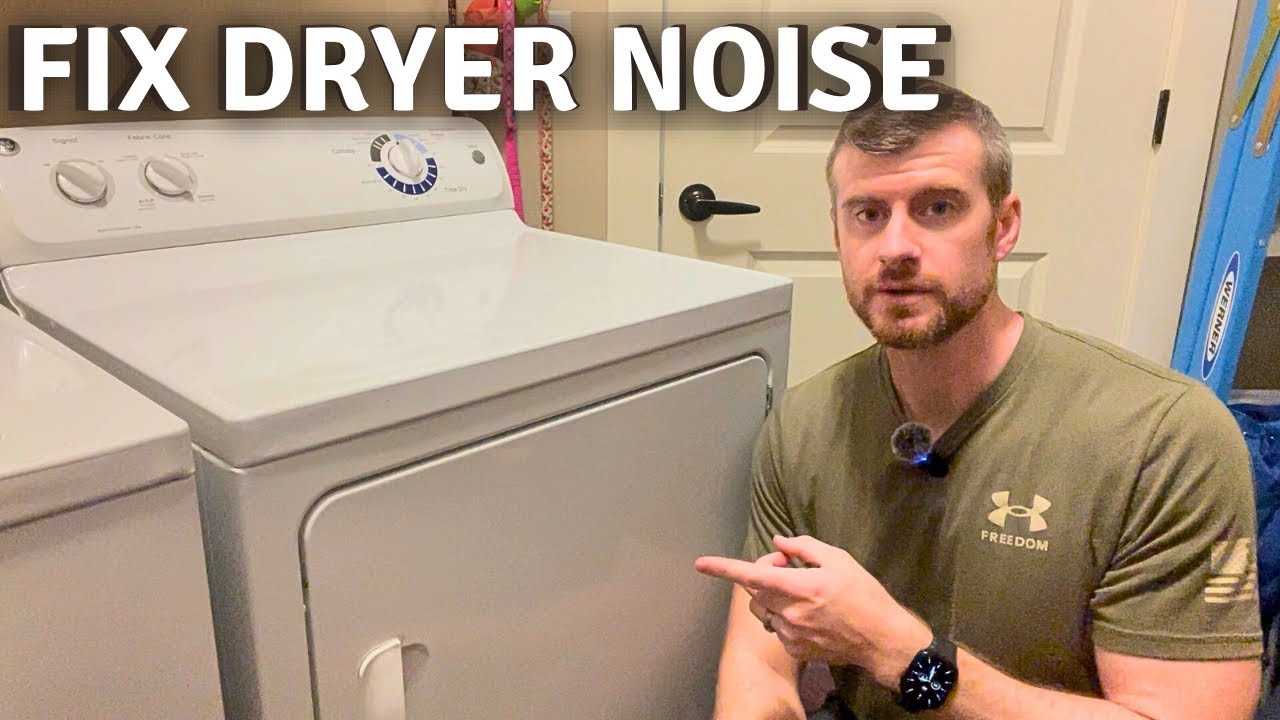
That sound. It starts as a faint squeak, maybe a gentle thump you can ignore. But soon, it grows into a grinding, rumbling monster that echoes through your entire home every time you dry a load of laundry. If you’re tired of shouting over your appliance, you’ve come to the right place. Learning How To Fix A Noisy Dryer is often much simpler than you think, and with a little guidance, you can silence that beast and restore tranquility to your laundry room.
My name is Alex, and here at Clothes Dryer Guide, we live and breathe everything about these essential home appliances. I’ve spent years diagnosing the clicks, clunks, and shrieks that dryers make. Trust me, your dryer is trying to tell you something, and I’m here to help you translate. We’ll walk through this together, step by step.
First, A Quick but Critical Safety Briefing
Before you even think about opening up your dryer, we need to talk safety. This isn’t the exciting part, but it’s non-negotiable. Your safety is always priority number one.
- Unplug the Dryer: This is the most important step. Unplug the power cord completely from the wall outlet. For electric dryers, this is a large, high-voltage plug.
- Shut Off the Gas (for Gas Dryers): If you have a gas dryer, locate the gas supply valve behind the unit and turn it to the “off” position.
- Have Room to Work: Pull the dryer away from the wall so you have plenty of space to move around and access the back and side panels.
Expert Insight from John Carter, Senior Appliance Technician:
“The number one mistake I see homeowners make is skipping the safety prep. An unplugged dryer is a safe dryer. It only takes a second, but it prevents a world of potential problems. Don’t ever work on an appliance that’s still connected to power.”
What’s That Sound? Decoding Your Dryer’s Distress Calls
Different noises point to different culprits. Identifying the specific sound is the first major step in diagnosing the problem. Let’s play detective.
Why is my dryer making a high-pitched squeaking or squealing sound?
This is one of the most common complaints. A constant, high-pitched squeak or squeal that happens while the drum is turning is almost always caused by a worn-out component that guides the belt.
The most likely suspect is the idler pulley. This is a small wheel on a spring-loaded arm that provides tension to the drive belt. As its bearing wears out, it creates that ear-splitting squeal. Sometimes, worn drum support rollers can also cause this noise.
What causes a loud thumping or banging noise?
A rhythmic thumping noise that happens with every rotation of the drum usually points to one of two things.
First, you might have a lumpy or balled-up piece of clothing, like a wadded-up duvet cover or a pair of sneakers you forgot to take out. Check inside the drum first! If it’s empty, the issue is likely worn or flattened drum support rollers. These are small, rubber-coated wheels that the drum rests on as it spins. Over time, they can develop flat spots, causing the drum to “thump” every time it turns over that spot.
Is a grinding or scraping noise a serious problem?
Yes, you should stop using your dryer immediately if you hear this. A metal-on-metal grinding or scraping sound often indicates a more serious issue.
The most common cause is worn-out drum glides. These are small plastic or felt pads that support the front of the drum. When they wear down, the metal drum can scrape against the metal frame of the dryer. Another possibility is a failing motor bearing, which is a more complex repair. Finally, a foreign object like a coin, bra wire, or screw could be trapped between the drum and the housing.
Your DIY Toolkit: Gearing Up for the Fix
You don’t need a professional workshop to tackle most of these repairs. Here’s a list of basic tools that will get you through the job:
- A good multi-bit screwdriver or a set of Phillips and flat-head screwdrivers
- A putty knife (preferably a flexible one)
- A socket or nut driver set (a 1/4-inch or 5/16-inch is common)
- Pliers
- A shop vacuum or handheld vacuum for cleaning
- A flashlight or headlamp
If you determine a part is broken, you’ll need a replacement. You can usually find a “dryer repair kit” online that includes the most common culprits (belt, idler pulley, and drum rollers) for your specific model.
Bảng trống.Step-by-Step Guide: How to Fix a Noisy Dryer
Ready to get your hands dirty? Let’s walk through the general process. While the exact steps vary by model, the core principles are the same for most standard dryers.
- Safety Check and Disassembly: Confirm the dryer is unplugged and the gas is off. To open the cabinet, you’ll typically either use a putty knife to release clips at the top front edge or remove screws from the back to lift the top panel. Some models require you to remove the front panel. A quick search for your model number online (“how to open [Your Dryer Model]”) will give you specific instructions.
- Inspect the Drive Belt: With the cabinet open, look at the drive belt. It should be snug around the drum and the idler pulley/motor shaft. If it’s frayed, cracked, or loose, it needs to be replaced. A damaged belt can cause a flapping or thumping sound.
- Examine the Idler Pulley: This is the squeaker! Find the spring-loaded arm with the small wheel that tensions the belt. Release the tension and spin the wheel with your finger. Does it spin freely and silently? If it wobbles, grinds, or feels stiff, you’ve found your problem. Replacing it is usually a simple matter of removing a single clip or nut.
- Check the Drum Support Rollers: You’ll need to lift the drum out or support it to access these. They are usually located at the back of the dryer cabinet. Spin each roller by hand. Like the idler pulley, they should spin smoothly and quietly. If they’re sticky, worn down, or misshapen, they are the source of your thumping noise and must be replaced.
- Look at the Drum Glides and Seals: These are located on the inside of the front panel where the drum rests. Check for excessive wear. If the plastic is worn through or the felt seal is gone, that’s what’s causing your grinding sound.
- Clean Everything Out: While you have the dryer open, this is the perfect time for a deep clean. Vacuum out all the lint and dust from the cabinet, around the motor, and in the blower housing. A clean dryer is a safer and more efficient dryer. You can learn more about proper cleaning in [our complete dryer maintenance guide].
- Reassembly and Testing: Carefully reassemble your dryer in the reverse order you took it apart. Once it’s all back together, plug it in (or turn the gas back on), and run a short, empty cycle. Bask in the glorious sound of… quiet.
When Should You Call a Professional?
While many noisy dryer issues are perfect for a confident DIYer, some problems are best left to the pros. It’s time to put down the tools and pick up the phone if:
- You smell a strong burning odor, especially an electrical one.
- The dryer won’t start at all after you’ve reassembled it.
- The problem appears to be the main drive motor itself.
- You are simply not comfortable performing the repair. There’s no shame in calling for backup!
Frequently Asked Questions (FAQ)
Q: How much does it typically cost to fix a noisy dryer?
A: A DIY repair kit with a new belt, idler pulley, and rollers often costs between $20 and $50. A professional service call will likely range from $150 to $400, depending on the part that needs to be replaced and local labor rates.
Q: Can I still use my dryer if it’s making noise?
A: It’s not recommended. A squeak or thump is a warning sign that a part is failing. Continuing to use the dryer can cause the failing part to damage other components, turning a simple, inexpensive fix into a major, costly repair. A grinding noise should be addressed immediately.
Q: Why does my dryer only make noise when it’s cold?
A: If the noise goes away after the dryer has been running for a few minutes, it’s often a sign that the rubber on the drum support rollers has hardened. As they warm up, they become more pliable and the noise subsides. This is an early sign that they will need replacement soon.
Q: Is it hard to replace a dryer belt?
A: Replacing a dryer belt can be a bit tricky because you have to loop it around the drum and the idler pulley in a specific way to create tension. It’s a good idea to take a picture with your phone of the old belt’s path before you remove it.
Q: Could the noise be coming from my dryer vent?
A: It’s possible, but less common. A flapping noise could be a loose vent connection or a problem with the exterior vent flap. A clogged vent is more likely to cause long drying times and overheating rather than mechanical noise.
Your Journey to a Quieter Laundry Day
Congratulations! You now have the knowledge and a clear roadmap for how to fix a noisy dryer. By taking the time to listen to the sound, identify the faulty part, and follow a few simple steps, you can save hundreds of dollars and extend the life of your appliance. It’s an incredibly rewarding feeling to solve a household problem with your own two hands.
We’d love to hear about your experience. Did you find the culprit? Was it the idler pulley, the rollers, or something else entirely? Share your story in the comments below and help another reader on their journey to a quieter home.